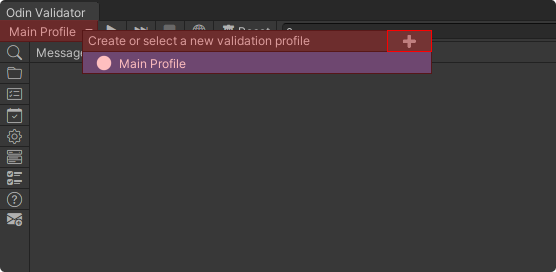
One of the ways to quickly run Odin Validator in your custom pipeline, is to first create a profile. If you want to create a new validation profile for this purpose, you can do so by clicking on the profile selection button in the upper left corner of the validator window.
To validate your project using a profile you create a new session and call the ValidateEverythingEnumerator method on a given validation session and enumerate the results.
var profile = ValidationProfile.MainValidationProfile;

// or reference a custom profile:
var profile = AssetDatabase.LoadAssetAtPath<ValidationProfile>("Assets/Path/To/Validation/Profile.asset");

using (var session = new ValidationSession(profile))
{
    foreach (var result in session.ValidateEverythingEnumerator(openClosedScenes: true, showProgressBar: false))
    {
        if (result.ResultType == ValidationResultType.Error)
        {
            // You have a validation error, do something.
            // [...]
        }
    }
}
The parameters of the ValidateEverythingEnumerator will let you control if you want to validate closed scenes and if you want to show a progress bar.
If you want to create a validation report as part of your custom pipeline, you can do so by calling ToJson or ToHtml on any validation session.
var json = ValidationSession.MainValidationSession.ToJson();
var html = ValidationSession.MainValidationSession.ToHtml();
That's it!